Submitting Your 1099-NEC Forms in ezW2
Follow the steps below to eFile your 1099-NEC forms with ezW2.
Step 4.1: Starting the eFiling Process
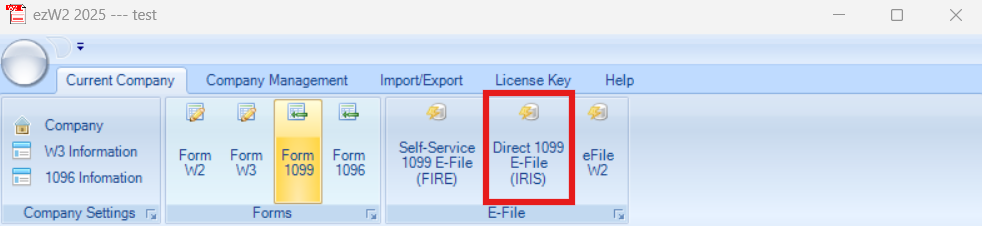
After preparing your 1099-NEC forms, select Direct 1099 E-File(IRIS) in the top section of the application.
Step 4.2: Selecting Forms and File Type
After selecting Direct 1099 E-File(IRIS), the following page opens.
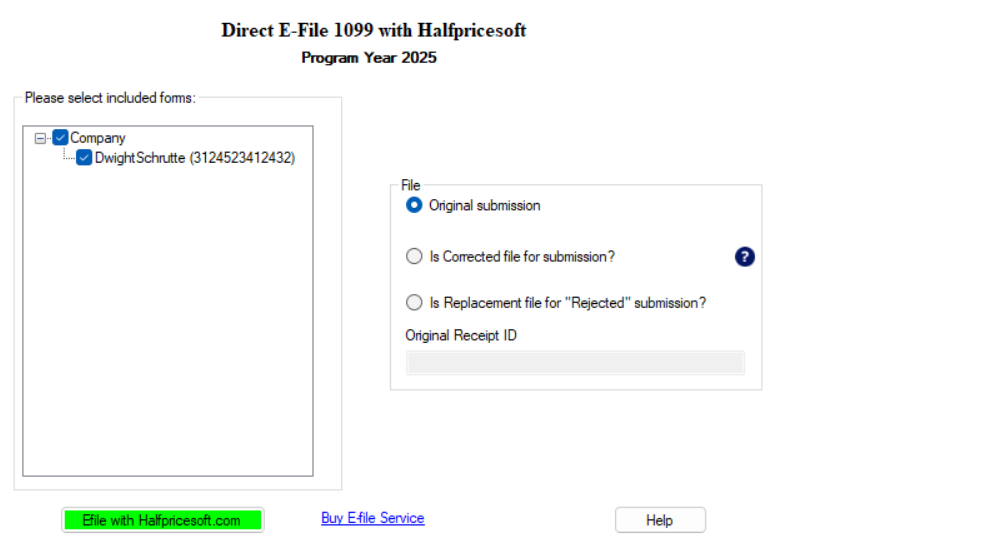
- Every form will be selected by default. Carefully go through the list of recipients and forms and make sure that the only ones selected are the forms you want to eFile.
- File type - select the file type based on the scenario it addresses
- Original submission - an original submission refers to the first official eFile of one or more 1099 forms for a specific tax year.
- Is Corrected file for submission? - one or more 1099 forms that were previously submitted to the IRS, in which errors or omissions are being fixed. It updates the original submission to ensure accurate reporting for a recipient or the filer.
- Is Replacement file for "Rejected" Submission? - an eFiling sent to the IRS when an original submission was rejected due to errors in formatting, missing information, or failed validation. The replacement file corrects the issues that caused the rejection and is treated as the new original submission once accepted.
- Original Receipt ID - is a unique identifier assigned by the Internal Revenue Service for an eFile submission.
When you select either Is Corrected file for submission? or Is Replacement file for "Rejected" Submission? you will need to populate the Original Receipt ID field. The receipt ID is provided upon original submission.
Once everything has been configured continue the process by selecting Efile with Halfpricesoft.com.
4.3 Creating File and Uploading eFiles
After selecting Efile with Halfpricesoft.com, a new window will appear. If the message field contains "File is created successfully. Please upload to Halfpricesoft.com." you are ready to upload your eFiles.
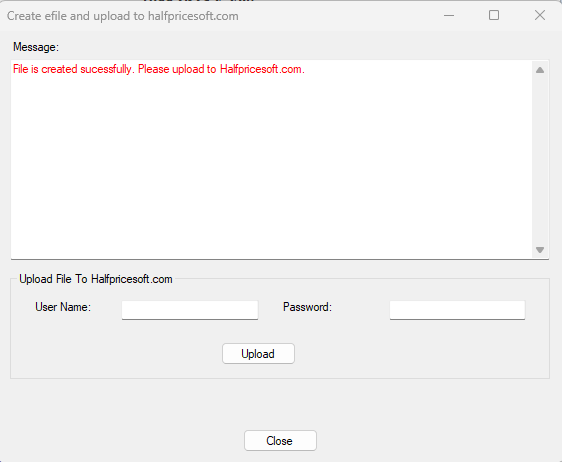
Add the email you used to purchase the eFile service to the username field and use the password you set up while creating an account on our online portal in the password field. Select Upload once both fields have been populated.

If the upload process was successful the following window will appear on your screen:
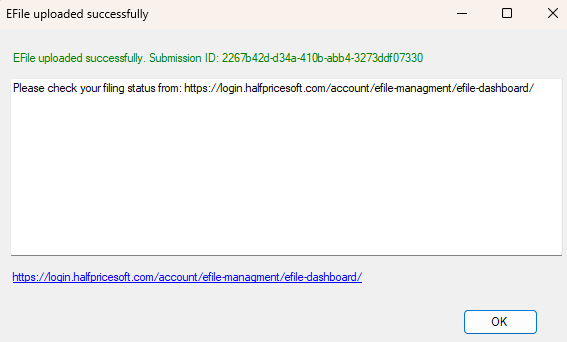
Continue to the Monitoring Submissions Status page to learn how to track the status of your eFile submission.