Preparing Your W2 Forms in ezW2
This article shows you how to create a company in ezW2 and add a W2 form. If you have already added your company accounts you can skip to step 1.2. The Additional Resources section includes links to import guides and other helpful articles.
Step 1.1: Creating Company Accounts
Creating a new company is only required during the initial setup or when adding an additional company in ezW2.
Open ezW2 and select the Company Management tab.
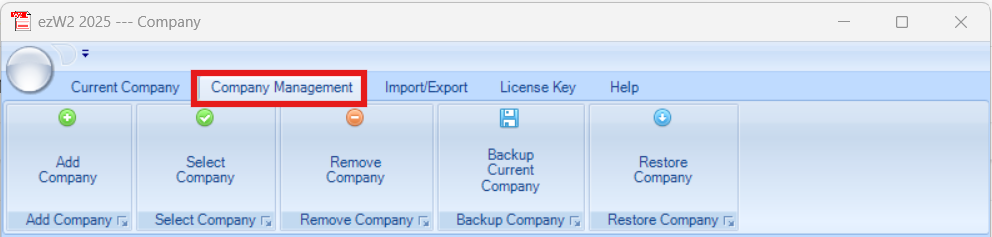
You will see company management options. Select Add Company to create a new company.

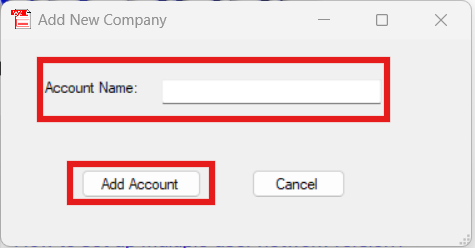
When the dialog opens, enter the company name and select Add Account.
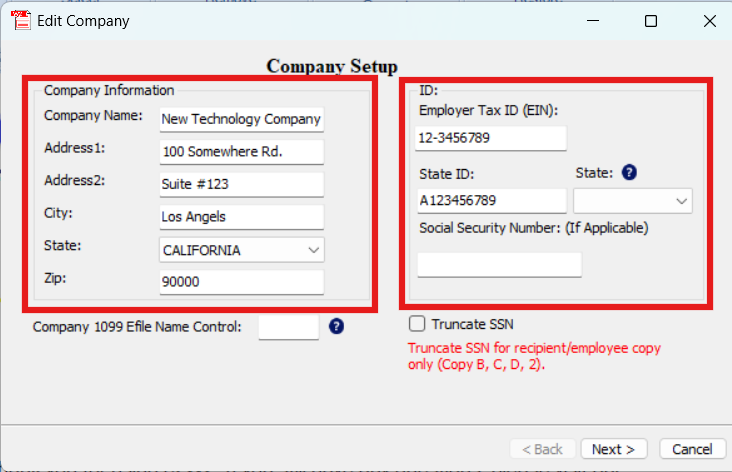
The company setup window opens. Enter the company information and ID details, then select Next.
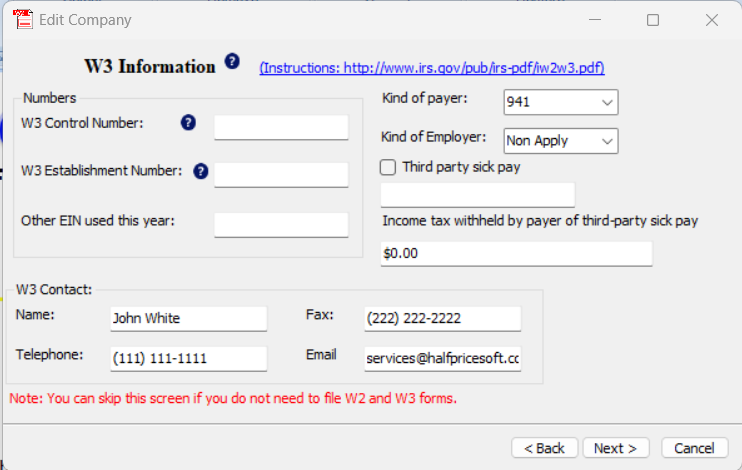
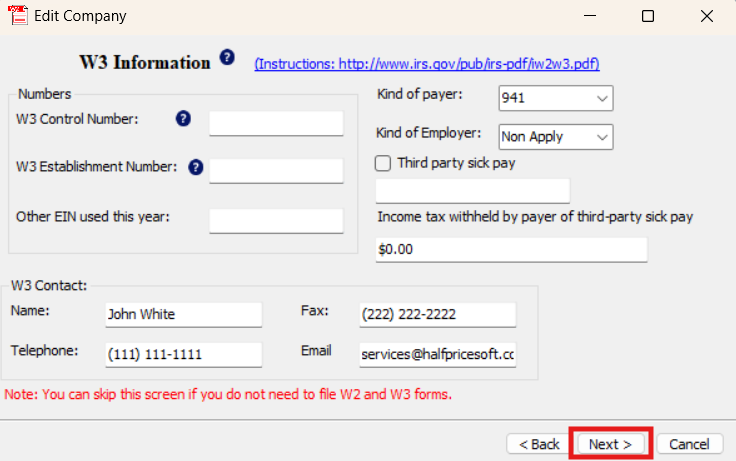
Enter the W3 information, then select Next to continue.
Add the 1096 information to your company profile. This information is not used when eFiling W2s, but it is required to complete company setup. Select Next to continue.

Select Finish to create the company account.

You don’t need to complete this step every time. You only need to create a new company when you first set up ezW2 or when adding additional companies.
Step 1.2: Editing Your W3 Information
During your initial company setup, you will enter your 1096 information. If you need to update that information later, follow the steps below.
Editing W-3 Data
Under the Current Company tab, select the W3 Information button.

A new window will open, allowing you to edit your Company Data, W-3, and 1096 information. The first page displayed is Company Data. Review or update the information, then select Next >.
The following page will allow you to edit your W-3 data. After making your changes, select Next > again.
Click Next > one more time, then select Finish to save all changes.
Step 1.3: Preparing W2 Forms For eFiling
This step will guide you through preparing your W2 forms in ezW2. You can either import data from various sources or manually create the forms within the software. This article specifically covers importing W2 data from ezPaycheck and manually creating W2 forms in ezW2. For information on other import options, refer to the Additional Resources section below.
Step 1.3.1: Creating W2 Forms by Importing from ezPaycheck
First, identify which company from ezPaycheck you want to import into ezW2. Open ezPaycheck, confirm you are on the correct company, then look at the top of the application for the company name and database directory. Make note of both.

Open ezW2 and go to the Import/Export tab. Select Import from ezPaycheck.
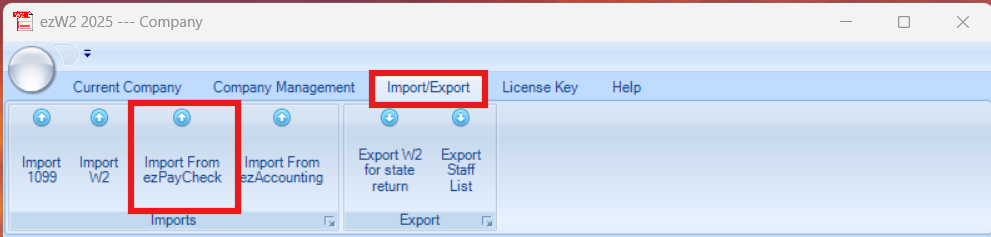
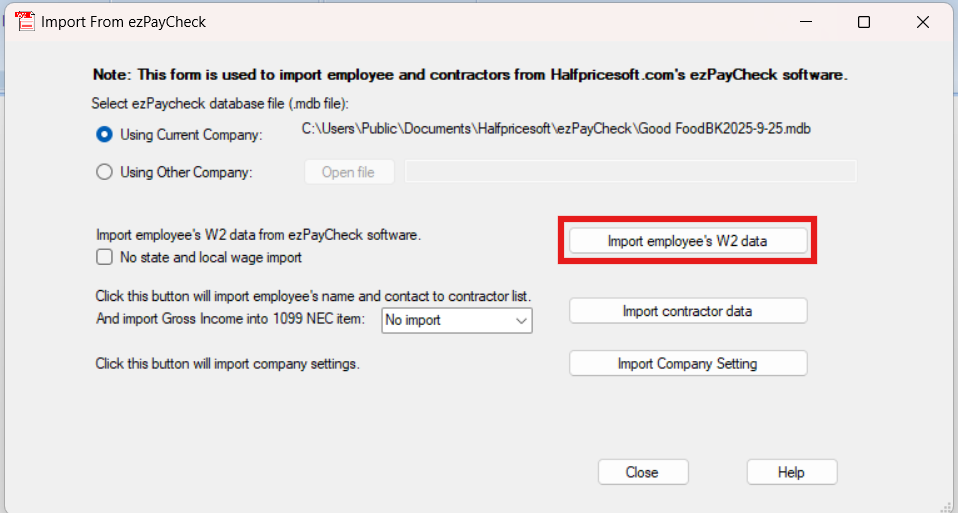
In the first section of the dialog, choose which company to import. If Using Current Company shows the correct company, select it. If not, choose Using Other Company and browse to the directory path you noted earlier. Then select Import Employee’s W2 Data.
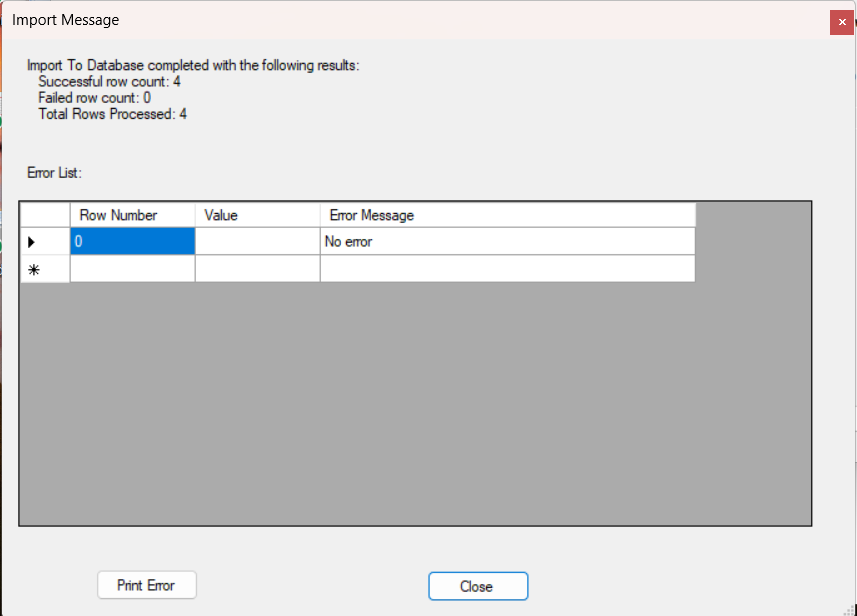
An import message will appear detailing the number of errors and rows processed.
Return to the Form W2 page and confirm the imported employees display correctly. If everything looks good, start the eFiling process: Submitting W2 Forms
Step 1.3.2: Creating W2 Forms in ezW2
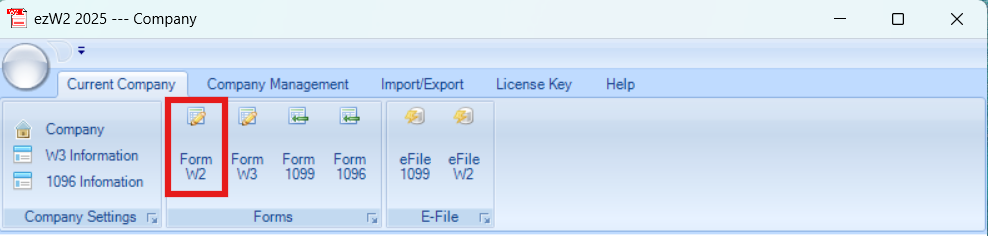
After creating a company, you can add W2 forms. Select Form W2.
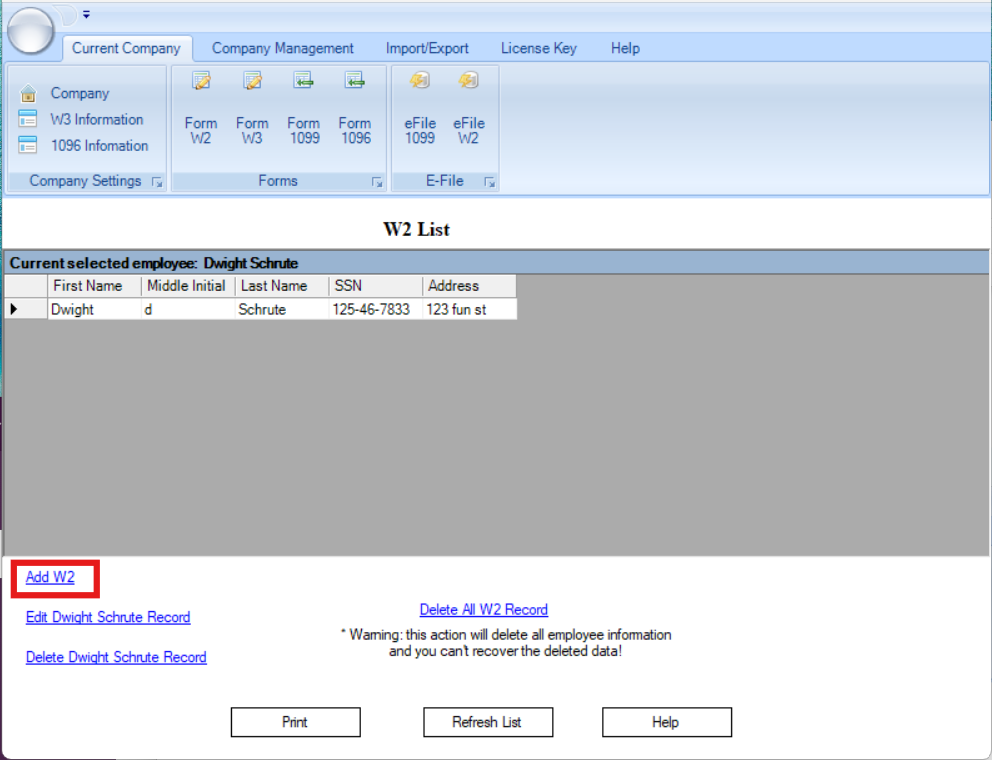
At the bottom of the page, select Add W2.
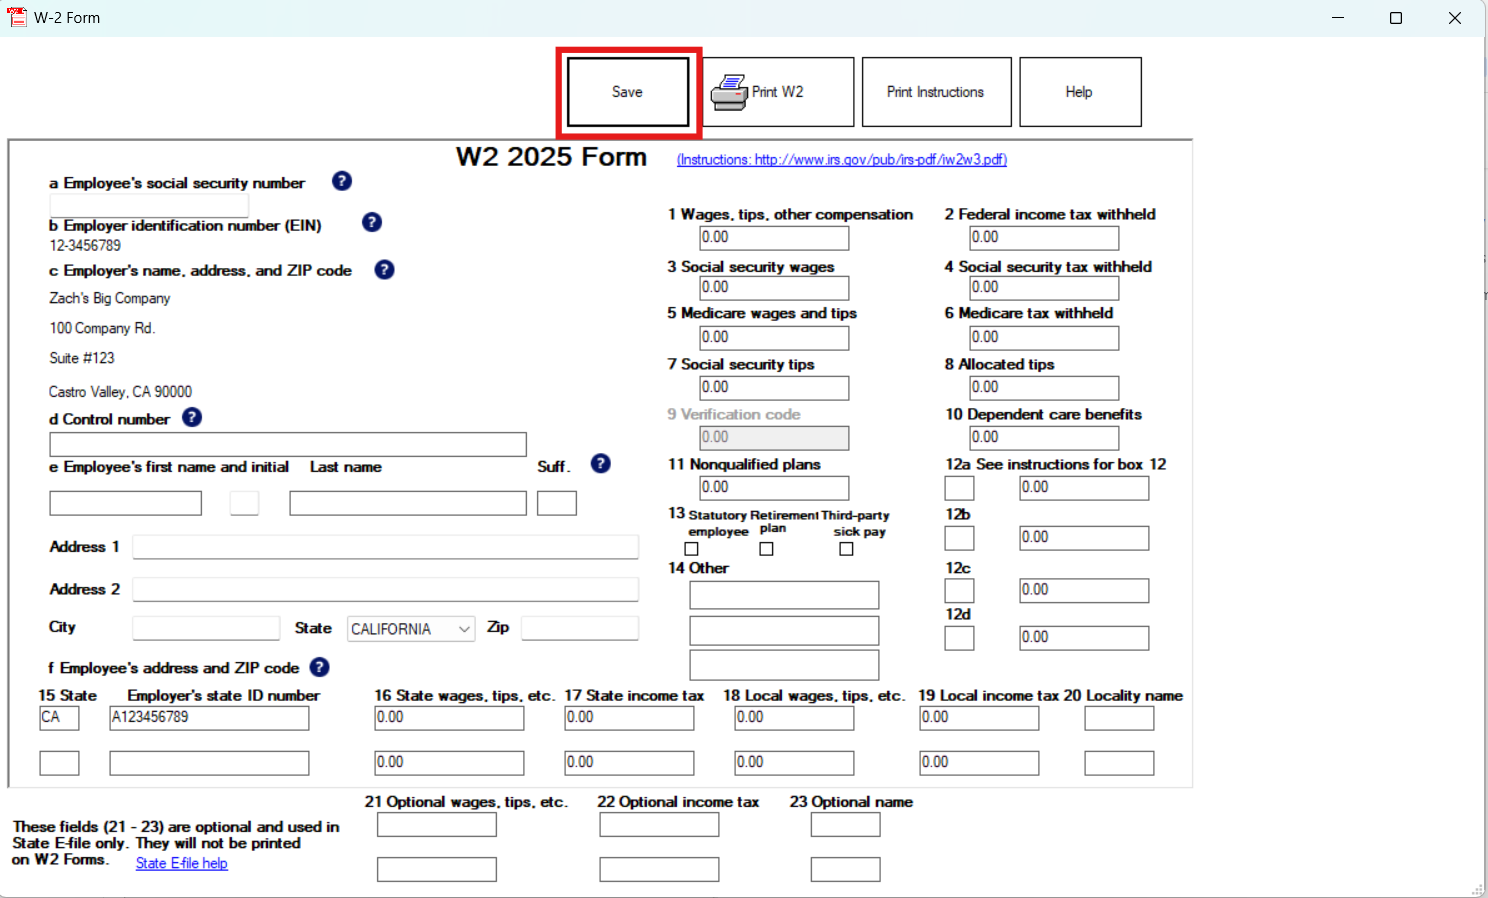
A W2 form opens in a new window. Enter the required information, then select Save. If all required fields are complete, a Database updated message will appear indicating the W2 was saved successfully.
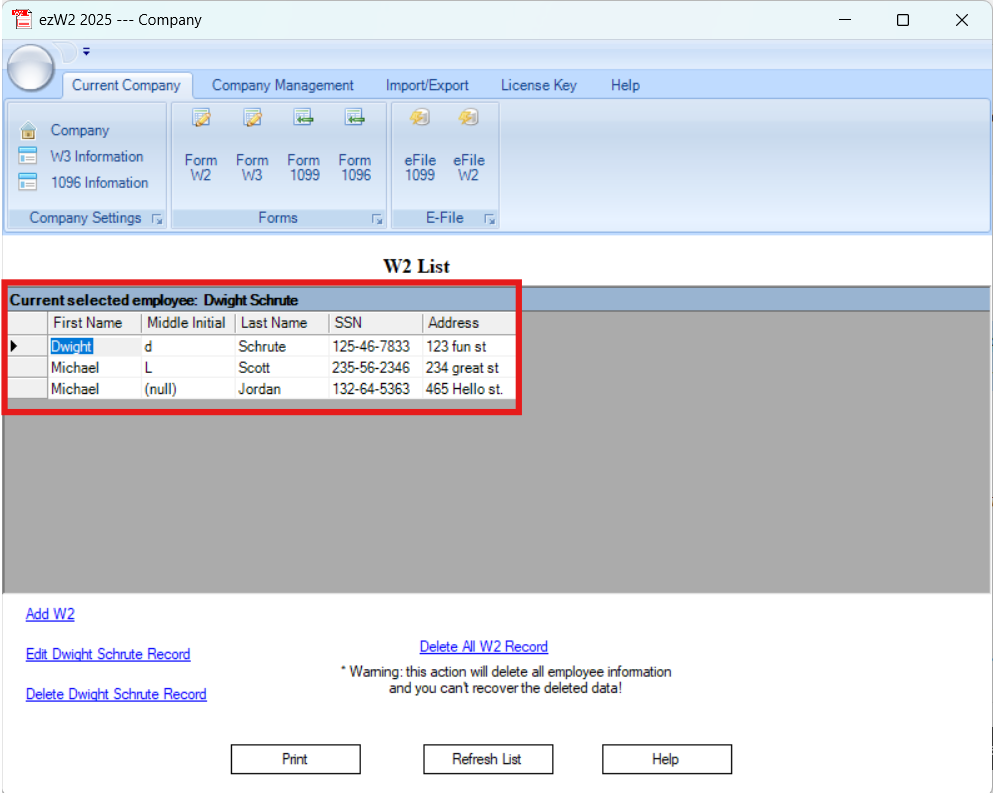
Once the database has been updated, close the W2 window. The new form will appear in the W2 List.
After preparing your W2s forms, continue to Submitting W2 Forms.
Additional Resources
The links below offer helpful resources that build on this article and guide you through using ezW2 successfully.