Reinstall ezCheckPrinting from scratch
tip
Do not skip the backup in step 2 or the folder deletion in step 4.
1. Log in as an administrator
Use an account that can install and uninstall programs.
2. Back up the data folder
Copy everything in the data folder to a USB drive or cloud storage.
Default data folder:
C:\Users\Public\Documents\Halfpricesoft\ezCheckPrinting
3. Uninstall ezCheckPrinting
Open Settings > Apps > Installed apps (or Control Panel > Programs and Features). Select ezCheckPrinting and uninstall it.
4. Delete the data folder and the program folder
Delete these if they are still there:
C:\Users\Public\Documents\Halfpricesoft\ezCheckPrintingC:\Program Files (x86)\Halfpricesoft\ezCheckPrinting
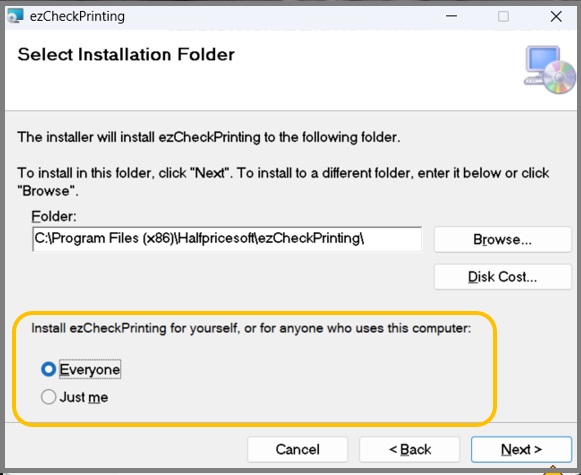
5. Install ezCheckPrinting again
Download ezCheckPrinting and run the installer. Choose Everyone when the installer asks who can use the program. That avoids most permission problems.
6. Restore the data
If you backed up the data in step 2, restore your data.
7. Reinstall the virtual printer if you print QuickBooks or Quicken checks
This step is only for the QuickBooks or Quicken add-on. Follow Reinstall the virtual printer from scratch.