ezCheckPrinting: Trusted By Thousands for Over Two Decades.

Stand Out in the Crowd with Fast and Easy Check Customization
You never know who will see or handle your personalized checks. The customized bank checks are a great way to differentiate your company and get your brand out in the marketplace.ezCheckPrinting softwaregives you more controls on check design and printing.
A company logo on blank check stock is a great way to grab the attention of potential customers.
Below are four easy steps to design and print bank checks with a logo.
If you have not installed ezCheckPrinting, please download it by clicking the button below.
ezCheckPrinting can run on both Windows and Mac computers.
Set up your checking account, then add your company logo on the check setup screen.
Once you have installed ezCheckPrinting, a desktop shortcut will be created. You can click it to run ezCheckPrinting.

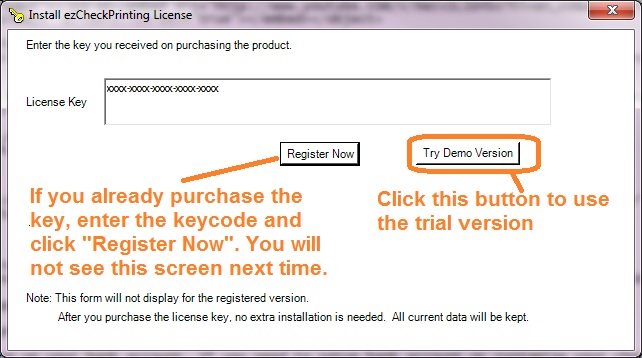
If you have not registered the license key, you will see a License key input popup screen.
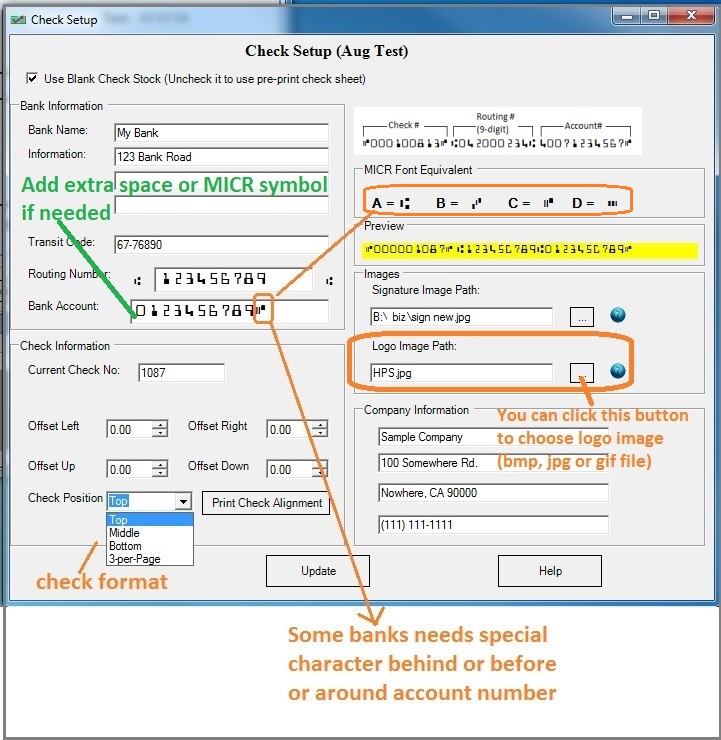
If you want to use blank check stock, check the option "Use Blank Check Stock". Otherwise, uncheck it.
Bank information is required. If you select to use pre-printed check, you can leave the default sample data here.
This information is optional. If you have this data on your old check, you can enter it. Otherwise, you can leave this field blank. US banks no longer use this information to process checks.
ezCheckPrinting supports blank check stock and pre printed checks for check on top, middle, bottom and 3-per-page business size formats.
Enter the starting check number on this screen. ezCheckPrinting will increase the check number automatically when you add a new check.
Most customers can leave the values as 0 (zero). You can adjust the value to print check higher or lower if your printer is special.
You can choose your own logo image and signature image. If you do not want to use images, you can delete the data and leave these fields blank.
If you like the default layout, you can skip this step.
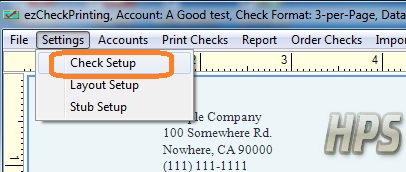
Click the top menu "Settings → Layout Setup" to open the check layout page.
You can customize the layout of your check by changing the font size, logo position, logo size or by adding a new label.
For example: You can double click the logo on screen to select it. Then you can resize it or drag/drop the logo to a new position. If you are satisfied with the layout, please click the Save button to save your change.

Add a check from the main page, then print it on your physical printer.
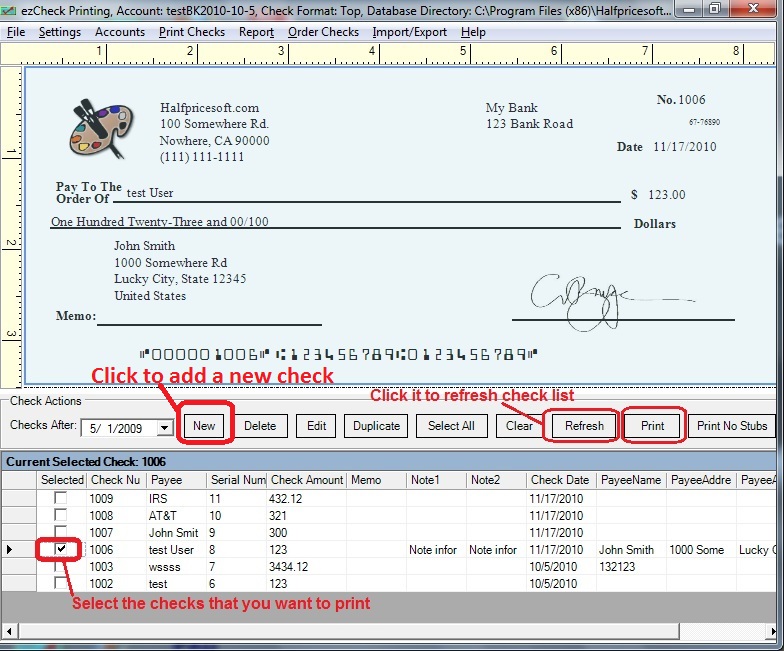
Go back to the main page. Click the New button to add a check.
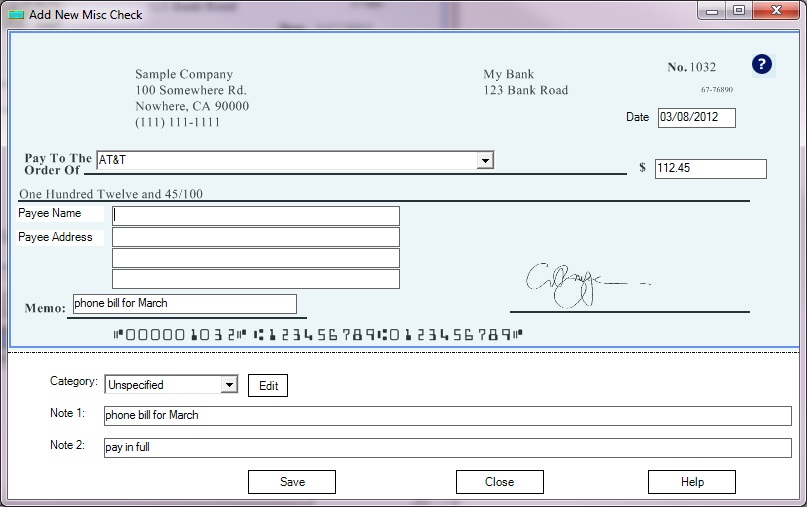
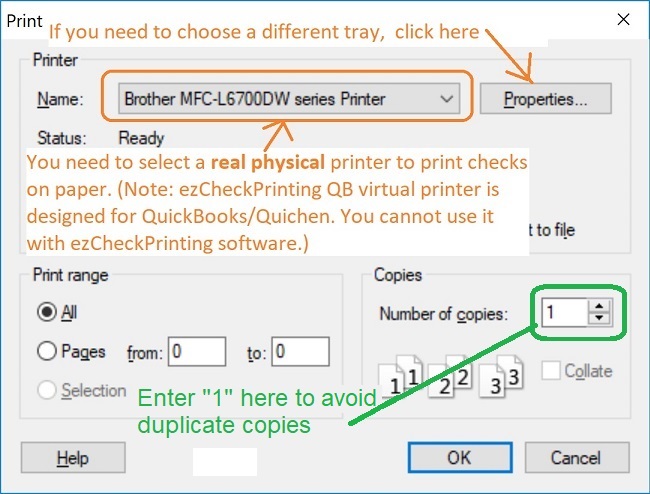
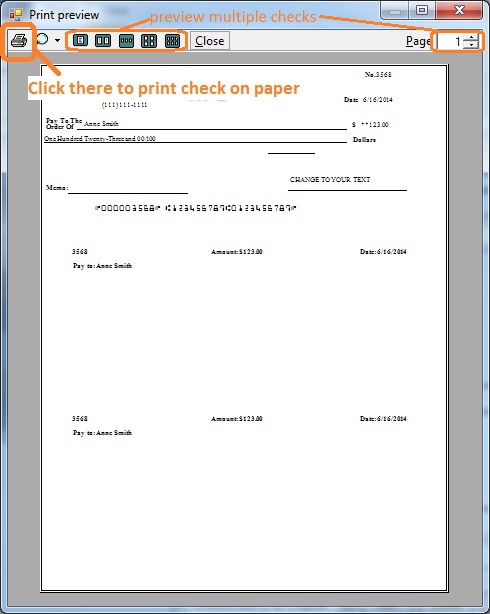
Select this check from the check list and click the Print button to print your check.
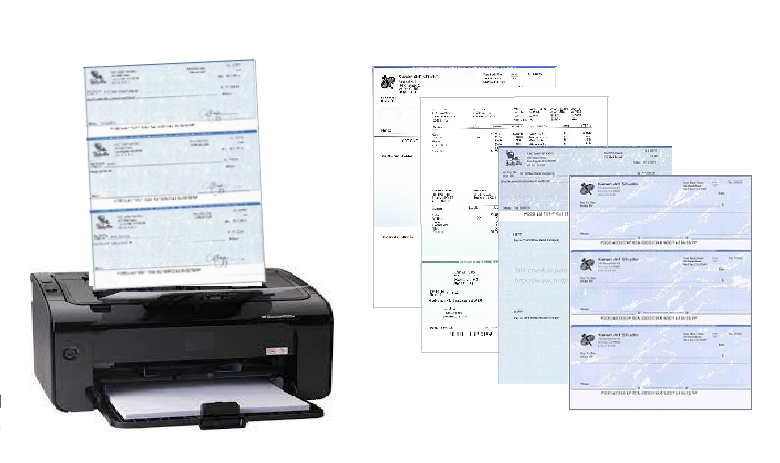
Please feel free to download and try ezCheckPrinting Software with no obligation. No registration is needed.
Please feel free to contact us whenever you need assistance. Our support team is glad to assist you. You can also check the FAQs page or email [email protected].