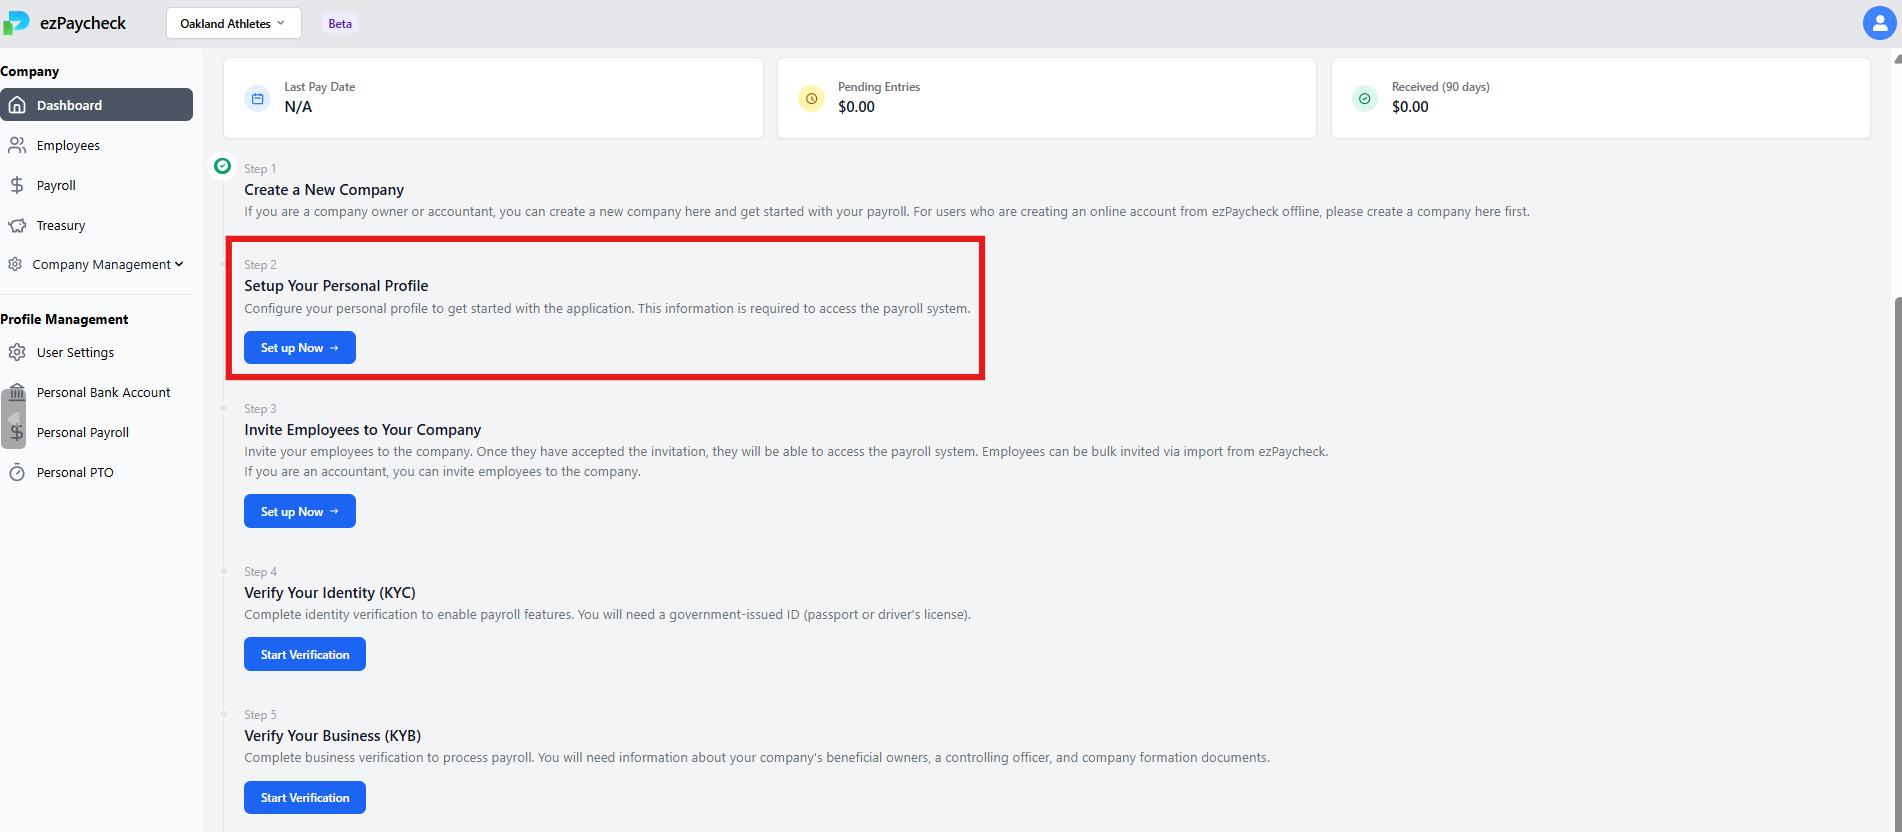
Set Up Your Company
This guide walks you through signing in, creating or joining a company, and completing the company profile.
Step 1: Sign In with SSO
Navigate to ezPaycheck Online and click the "Login with SSO" button.

You will be redirected to a new page where you will be prompted to enter Halfpricesoft profile credentials.
If you do not have a Halfpricesoft account yet, register for free here before proceeding.
Step 2: Create a Company or Join a Company
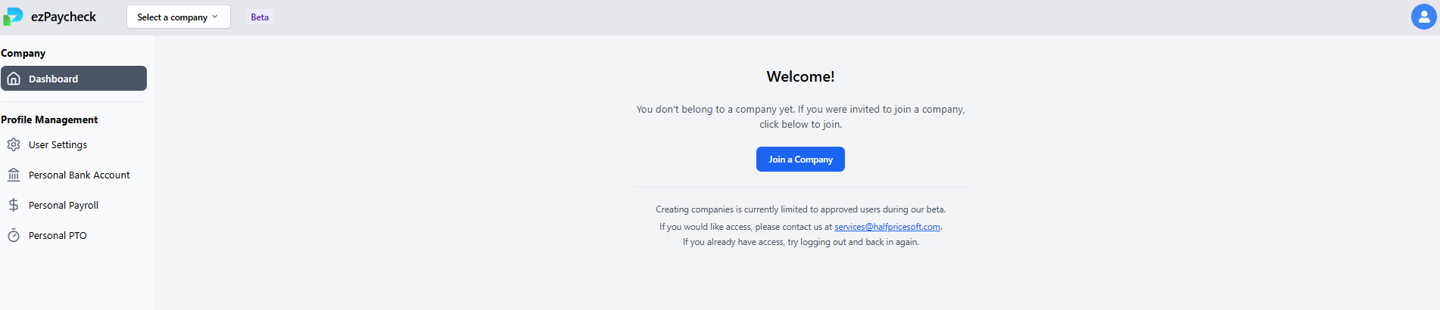
After logging in for the first time, you will land on the Dashboard. Because you do not belong to a company yet, the Dashboard will show two options:
| Option | When to use |
|---|---|
| Create a Company | You are a business owner or payroll administrator starting fresh. |
| Join a Company | Your employer has already set up a company and sent you an invitation. |
Creating a New Company
Click "Create a Company" to launch the Company Setup wizard. Work through each step:
1. Introduction
Review the overview of the setup process, then click Next.
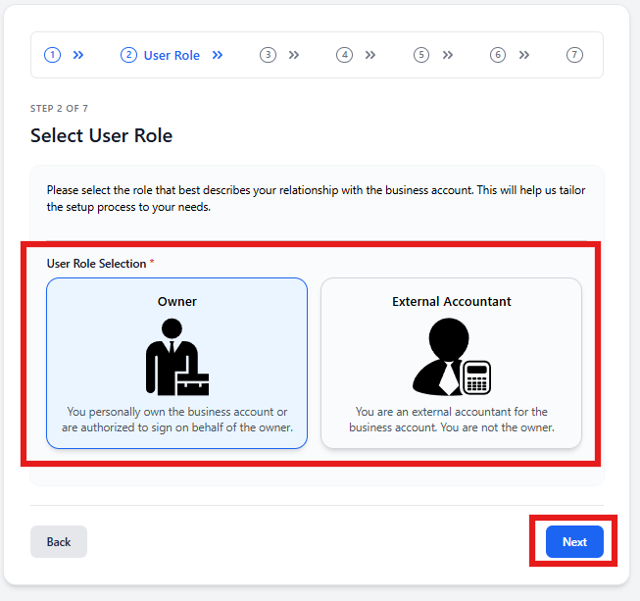
2. Select Your Role
Choose your role in the company:
- Owner — You own or operate the business and will manage payroll directly.
- External Accountant — You are setting up payroll on behalf of a client. You will be prompted to invite the company owner to complete ownership steps.
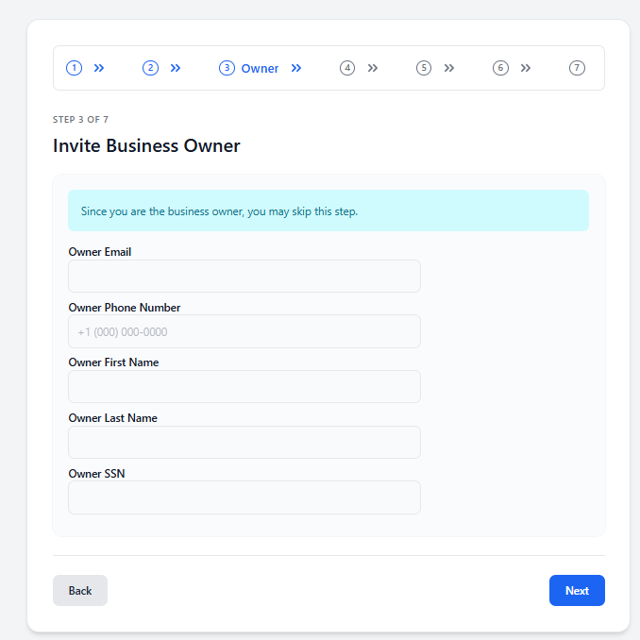
3. Invite Business Owner
This step only needs to be completed if your role is an External Accountant. Populate the business owner's information so they can be sent an invite when their profile is created.
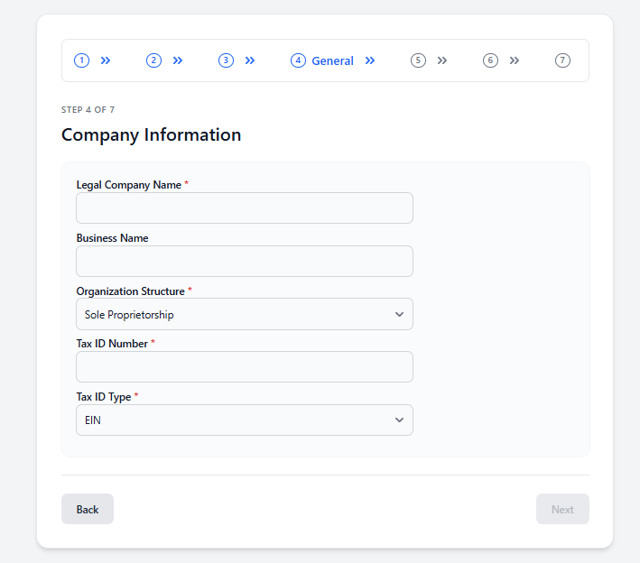
4. Company Information
Fill in your company details:
- Legal Company Name — The full legal name of your business.
- Business Name (DBA) — The operating name if different from the legal name.
- Organization Structure — Your entity type (e.g., LLC, S-Corp, Sole Proprietor).
- Tax ID Number — Your company EIN or TIN/SSN.
- Tax ID Type — Select EIN for a federal Employer Identification Number, or TIN/SSN for a Taxpayer Identification Number.
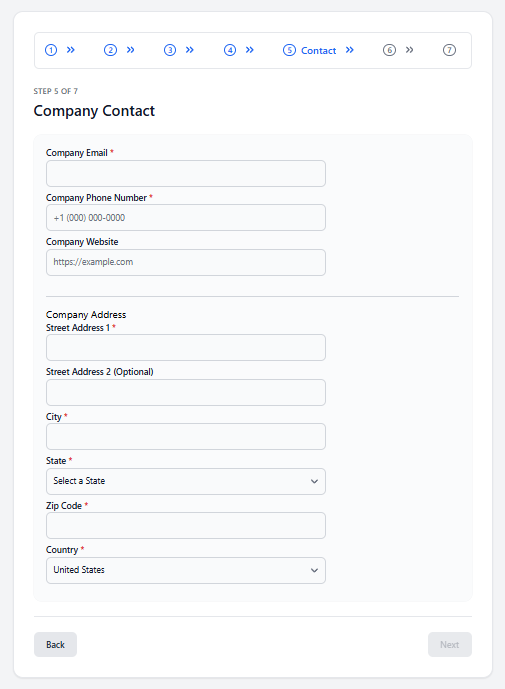
5. Contact Information
Enter the company's address, phone number, and primary contact email.
6. Company Agreement
Review and accept the terms of service, then click Submit to create the company.
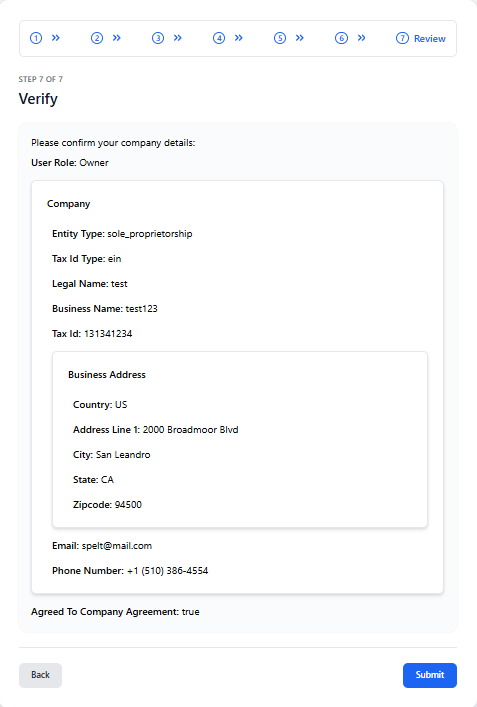
7. Verify Company Information
In the final step of this process, you will be able to review all of the information you have added. If everything is correct, select Verify.
After setup you can fine-tune payroll configuration — pay period type (e.g., biweekly), first payroll date, and prefunding settings — under Company Management → Company Information.
Joining an Existing Company
After receiving an invite to ezPaycheck Online and signing into your account, you will select the button Join a Company.
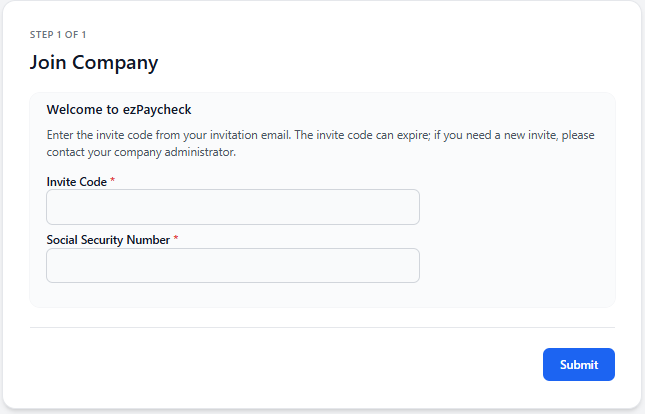
To successfully join a company, the employee will need the invitation code provided to them in their invite email and their Social Security Number.
Step 3: Set Up Your Personal Profile
After the company is created (or after joining), the Dashboard setup checklist will prompt you to "Setup Your Personal Profile". Click that step to complete your name, contact information, and any other required personal details.