When you update ezCheckPrinting for Mac from Version 5 to version 6, ezCheckPrinting will transfer the data automatically. If your computer has higher security settings, you can follow this guide to transfer data manually.
1. Copy Version 5 database file to USB or desktop or other location that you can access easily
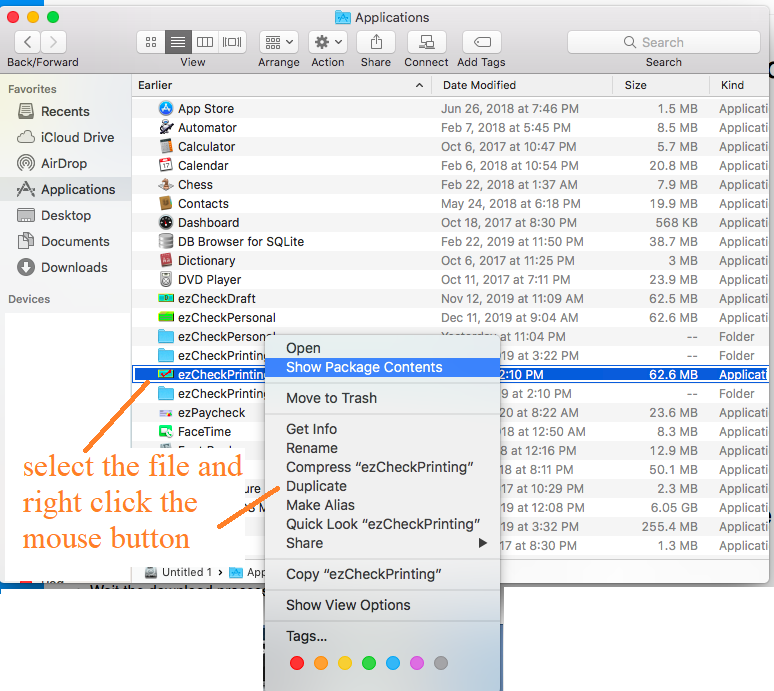
1.1 Open "Finder", click "Application", select "ezCheckPrinting" and right click the mouse to view pop up menu. Click the "Show Package Contents" from the pop up menu.
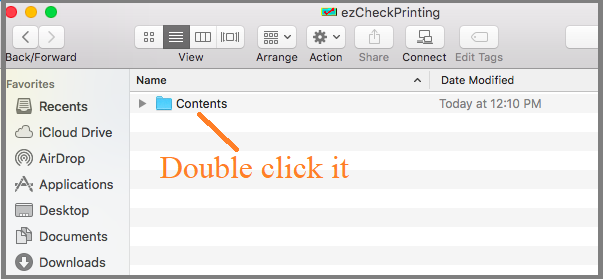
1.2 Double the "contents folder.
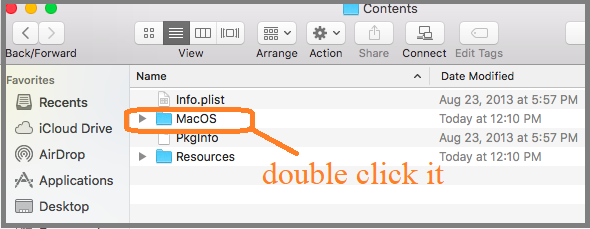
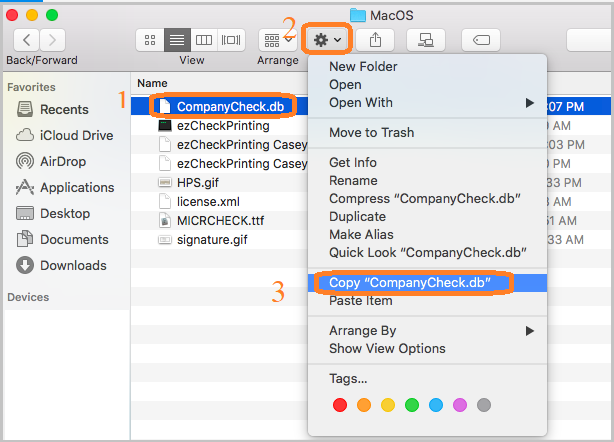
1.3 Double the "MacOS" folder.
1.4 The database file is .db file. You can select the file and copy it to memory.
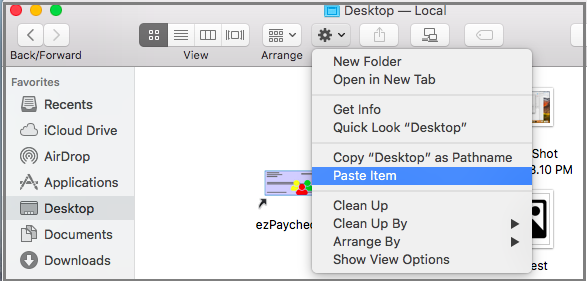
1.5 Paste the file to the desktop folder, the usb disk or other location that you can access easily.
2. Start the new ezCheckPrinting application and Restore data
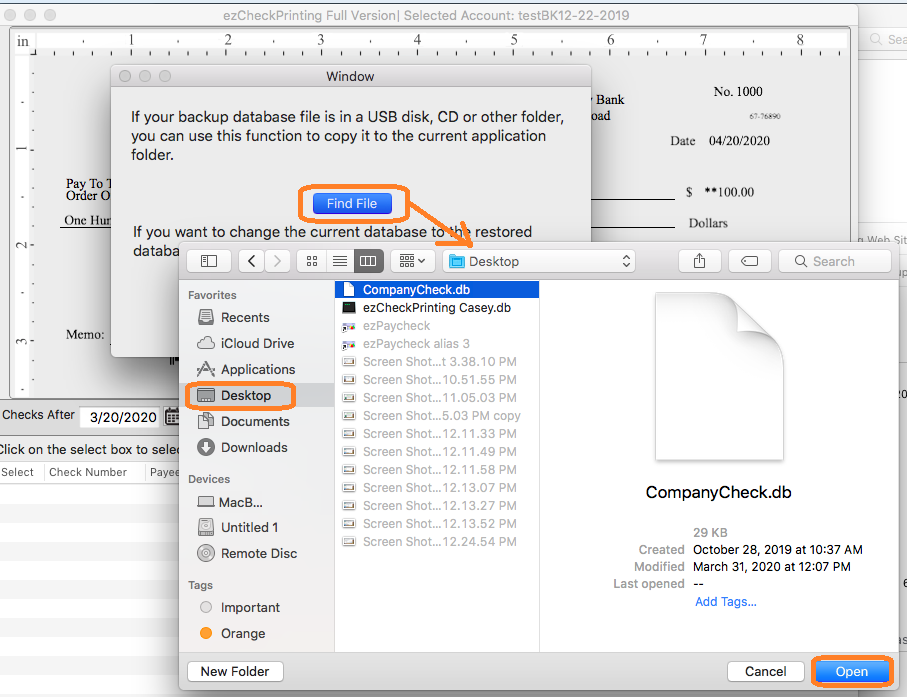
2.1 Start ezCheckPrinting software and click the top menu Accounts, then Restore Account.

2.2 Select your backup file and restore.