Automate tax calculations and paycheck printing with ezPaycheck payroll software — perfect for small businesses, non-profits, and accountants.
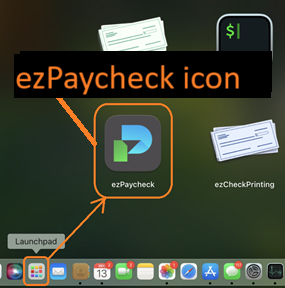
Install ezPaycheck on your Mac, then launch it from Launchpad before you set up your company.
If you have not installed ezPaycheck, please install it fromezPaycheck download link
You can click the Launchpad to view this applications, then click ezPaycheck icon to run ezPaycheck payroll software.
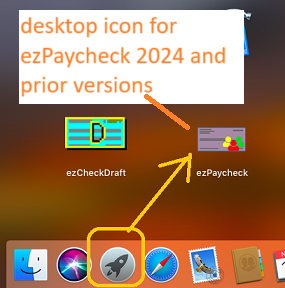
ezPaycheck desktop icon
Previous Version Icon.
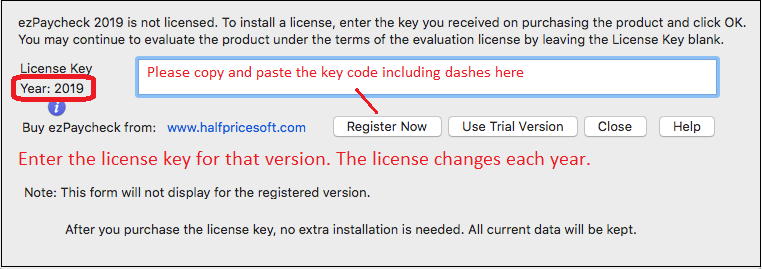
You will see the license input screen if you have not entered the license key.
Here are two options to set up company.
The new account wizard will appear and guide you through the process step by step.
To add a new account, navigate to the ezPaycheck software's top menu, click on "Company," and then select "Add Company."
The new account wizard will appear and guide you through the process step by step.
Enter company information
Enter company tax information
Click the "Finish" button to save company settings.
Click on "Wage Set up" in the left menu to review and edit payment options
Click on "Deductions" in the left menu to review and edit deduction settings
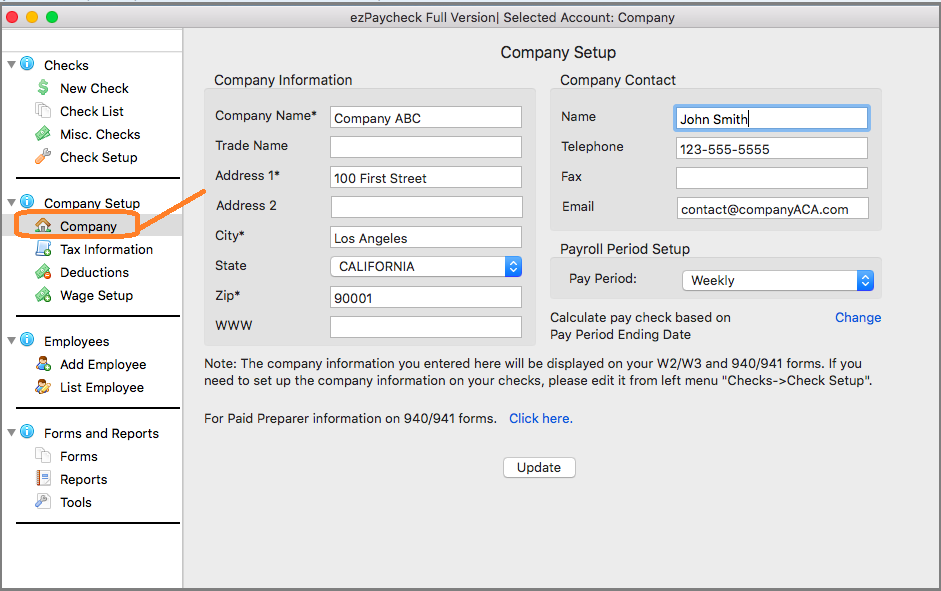
Click the left menu "Company Settings" then click the sub menu "Company" to open the company setup screen
These are the company information that will be printed on the tax forms. If you need to edit the company information on the checks, please click ezPaycheck left menu "Checks → Check Setup".
You can click the left menu "Company Settings" then click the sub menu "Tax Information" to open the company tax setup screen
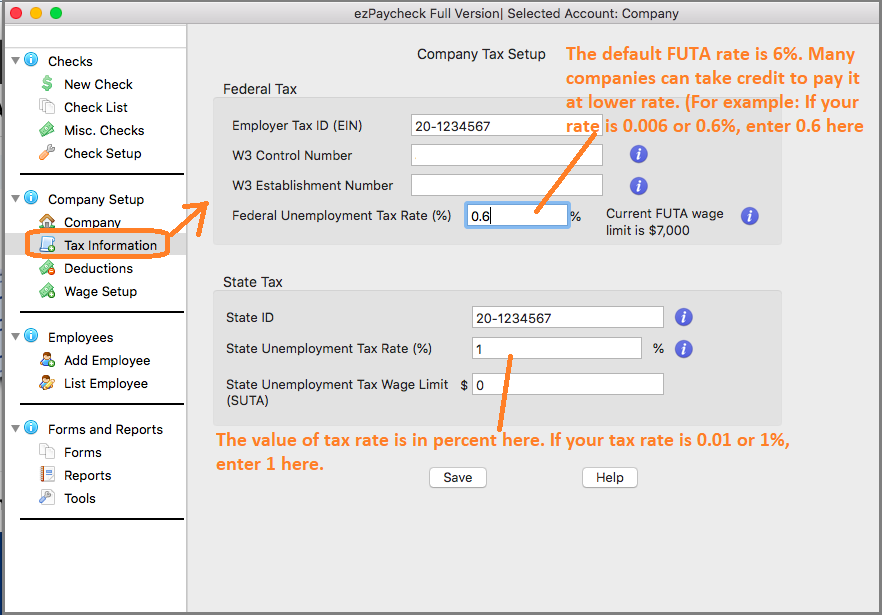
You can click the left menu "Company Settings" then click the sub menu "Deduction" to open the company deduction setup screen
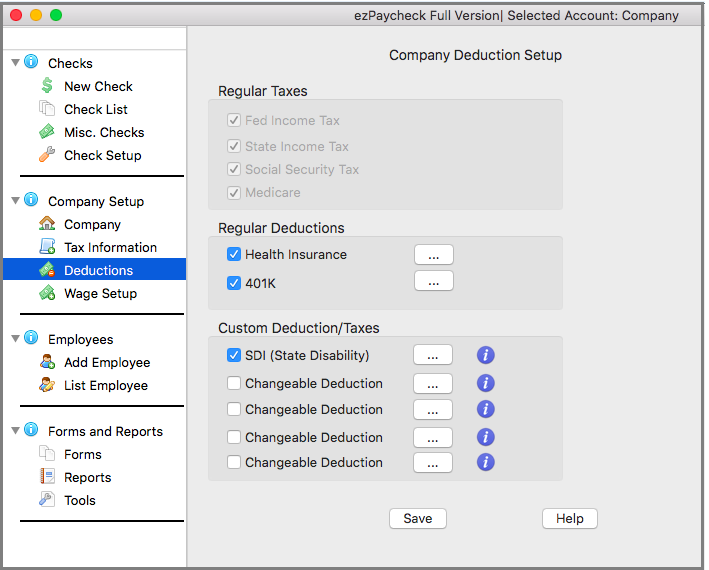
ezPaycheck payroll software can support up to 7 custom deduction fields. If you need to add a customer deduction to handle SDI, local taxes, fringe benefits, city taxes, occupation tax and more.
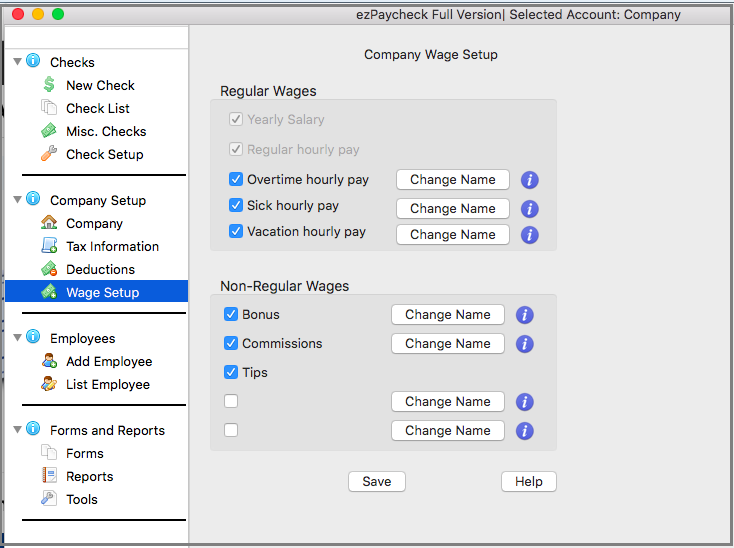
You can click the left menu "Company Settings" then click the sub menu "Wage Setup" to open the Company Wage Setup Screen
Please feel free to contact us whenever you need assistance. Our support team is glad to assist you. You can also check the FAQs page or email [email protected].