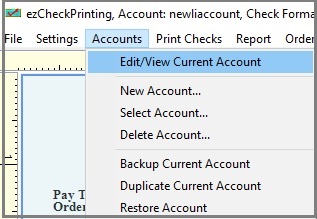
If you lost current account set up, you can click the top menu "Accounts", then click the sub menu "Select Account" to view account list and switch current account.
Step 3: If you backed up your data before, you can restore your data easily.
Start ezCheckPrinting, then click the top menu "Account->Restore account" and select the database file. ezCheckPrinting will copy this database file to the application folder.
Then select the new database file as current company database by clicking the top menu "Accounts->Select Account".
Step 4: Copy the database file back manually
Follow this guide if you have changed the data folder location (for example, if the data folder was moved because of a new hard drive, a Windows update, or another reason)
1) Copy data
The database file is .mdb (Microsoft Database) file.
The default data folder is:
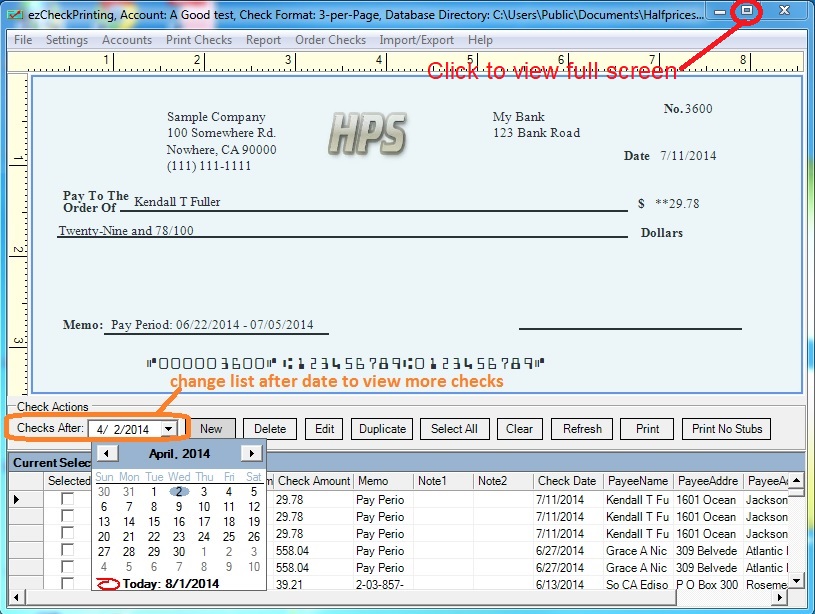
C:/Users/Public/Documents/Halfpricesoft/ezCheckPrinting
If you used old version ezCheckPrinting 4.0 and earlier before, the database folder can be
C:\Users\**YourName***\AppData\Local\VirtualStore\Program Files (x86)\Halfpricesoft\ezCheckPrinting
or
C:/Program Files/Halfpricesoft/ezCheckPrinting
Or you can search "*.mdb file" manually.
2) Switch the current account to view data
If you can find the data, you can copy it back to the default folder. Then select this database file as current company database by clicking the top menu "Accounts->Select Account".