ezCheckPrinting: How to Change Check Format
With ezCheckPrinting software, you can print on standard size checks or on 8 x 11-inch pages with check-on-top, check-in-middle, check-at-bottom and 3-per-page formats.
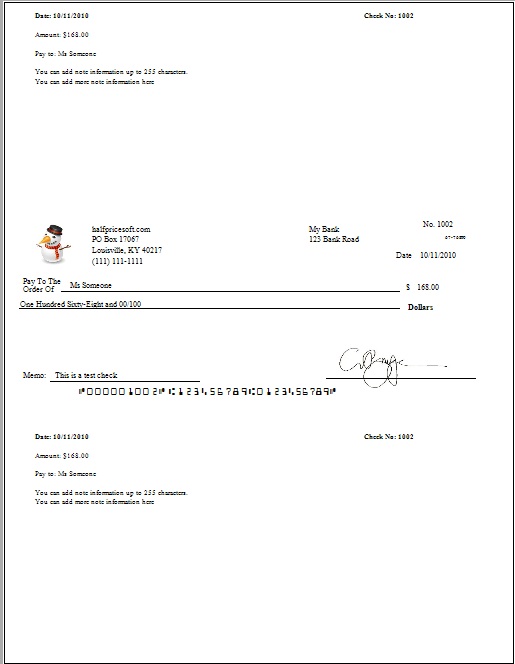
Note: ezCheckPrinting is designed for business check printing. If you need to print the smaller personal wallet sized check, you need to use
ezCheckPersonal.
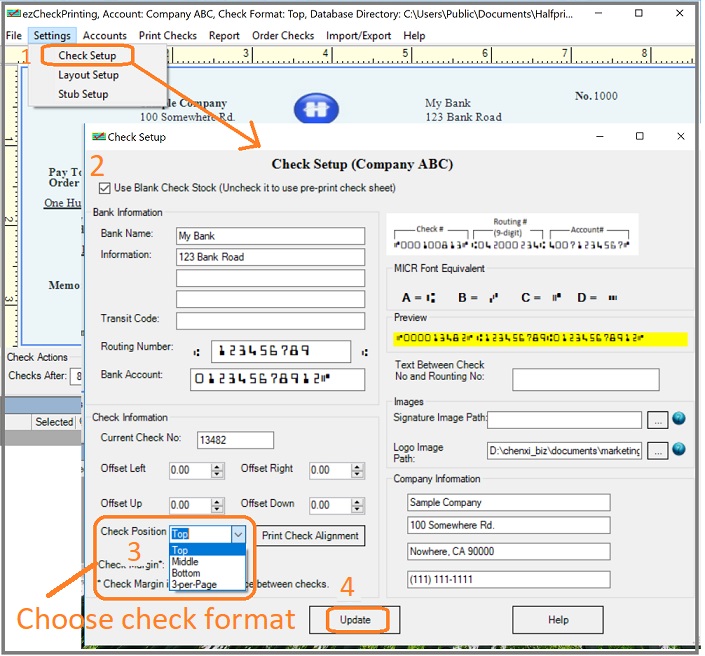
1. Click the top menu "Settings->check setup" to open the check setup page. Set up your check information and add your company logo file there
.
2. Blank check stock or pre-printed check
If you use the blank check stock, check the option "Use Blank Check Stock". Otherwise, uncheck it.
3. Change the value of the check position field to "3-per-page", "Top", "Middle" or "bottom". (the last item in check information group).
4. Click the Update button to save your changes
.
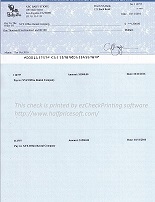
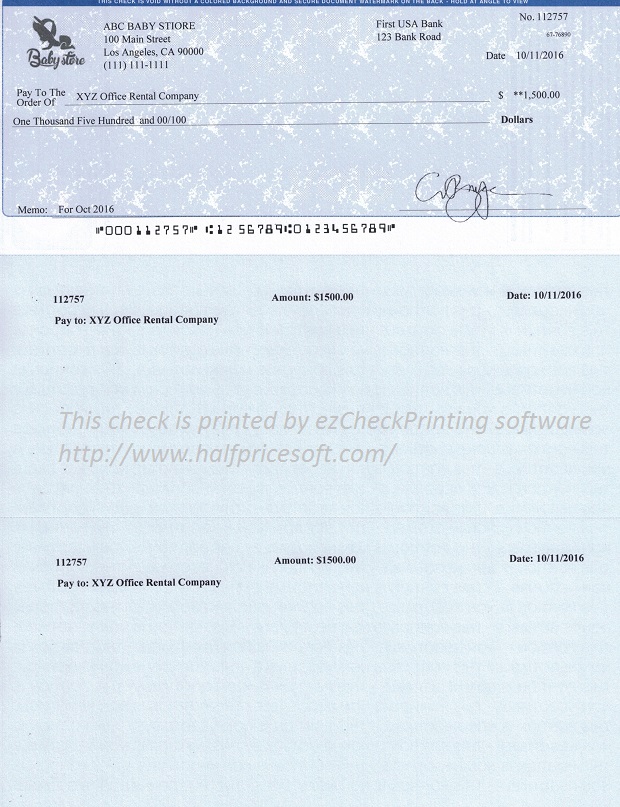
How to print checks with check-on-top format
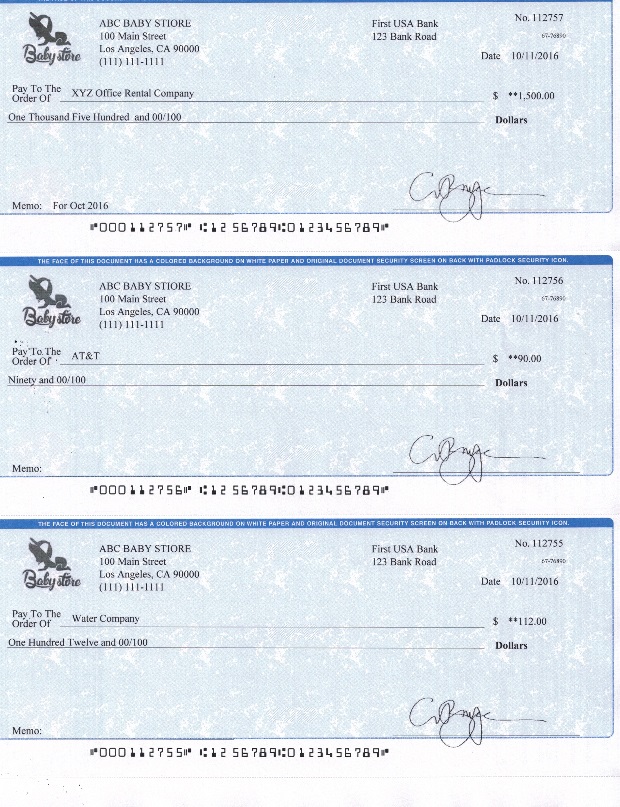
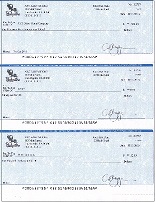
How to print checks with 3-per-page format
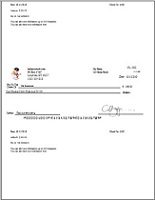
How to print checks with check-in-middle format
How to print checks with check-at-bottom format
Related Articles:
How to add and print a check How to print pre-printed blank checks to fill in later
https://www.halfpricesoft.com/articles/how-to-print-quickbooks-micr-blank-check.asp
How to print QuickBooks checks on blank stock
https://www.halfpricesoft.com/quickbooks-check-printing/print-quickbooks-checks.asp
 | Design and Print Professional Checks Yourself
- Print checks on blank stock with logo and signature
- Fill in data on pre-printed checks
- Print blank checks to fill in later
- QB virtual printer for QuickBooks/Quicken(for Windows)
- Unlimited accounts and checks for Windows and Mac.
Try ezCheckPrinting free demo version with no obligation and no credit card needed.
|